1
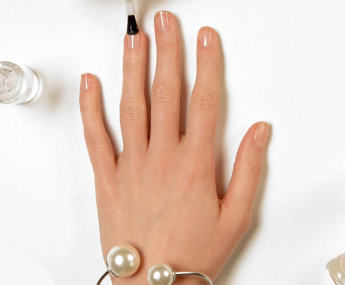
BASE COAT
Start by applying a layer of base coat. This will prevent staining and give your polish something to stick to.
2
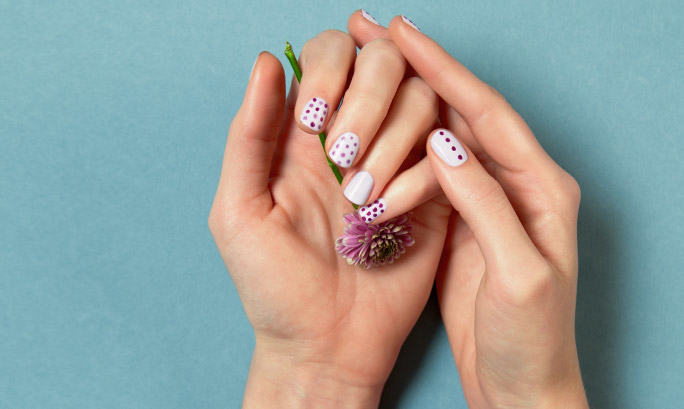
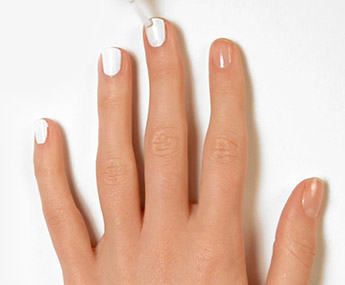
BASE COLOUR
Then apply a strong base nail polish colour – we love white for creating contrast. Allow your nails to dry.
3
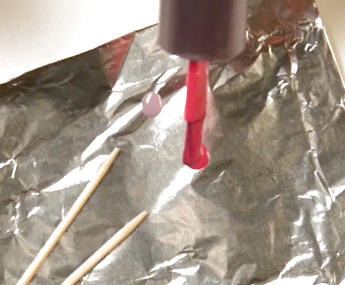
TOOTH PICK
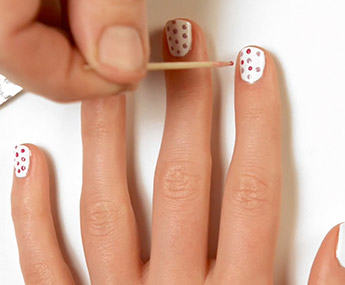
Now, pick two nail polish colours to create your dots. Pour a small amount of each nail polish onto a strip of tin foil. Then take a toothpick and dip it into the polish.
4
CREATE DOTS
Use the toothpick to dab dots onto your nails; alternate the colours as you go along. Leave your nails to dry.
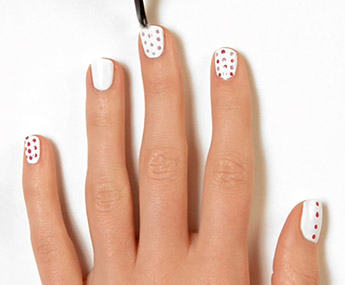
5
TOP COAT
Seal your nail art with a transparent top coat that will protect and add shine.
Click here to watch the video.


