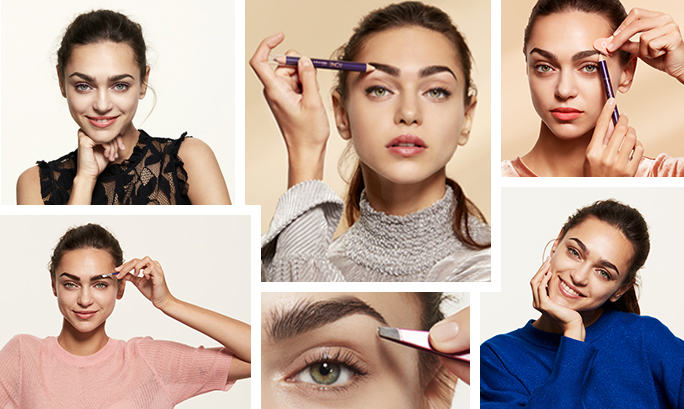
BOLD AND TAMED
Who doesn’t love eye-catching brows? Using a brow mascara, (or as we’d like to call it; browcara) you can create beautiful and voluminous eyebrows in no time.
HOW TO DO IT
1. Brush brow hairs with the tip of the brush using short, stroking motions.
2. Brush in the gel wherever you want to add volume.
3. Comb through gently to shape and set brows.
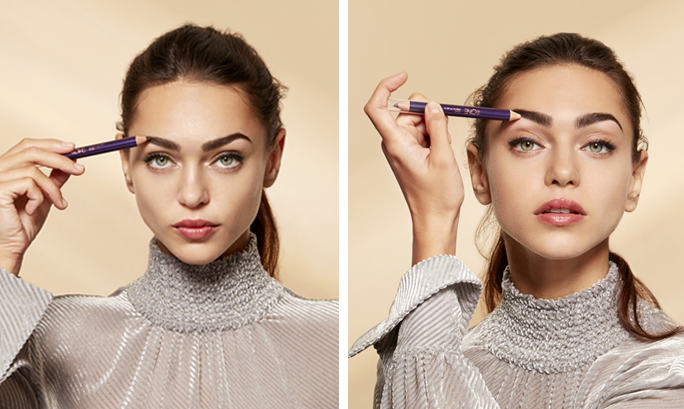
CONTOURED AND HIGHLIGHTED
Want to feel more chic and sleek? Then a double ended eyebrow pencil is just what you need. The pencil side adds definition, colour and shape where hairs are sparse while the highlighter side works to provide an instant brow-lifting illusion.
HOW TO DO IT
1. Start at the inner eyebrow and use the coloured pencil to fill in sparse areas with short, feathery strokes to define and even out the contours of your brow.
2. Apply the highlighter side underneath the arch of your brow or just below your brow bone to further enhance your eyes and brow shape.
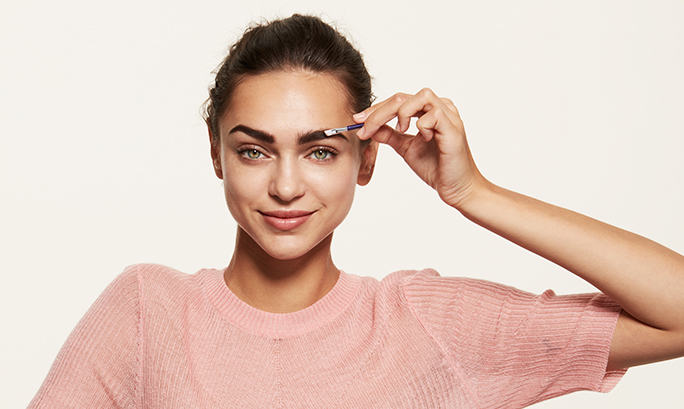
SET AND READY
On days where stress levels are increasing by the minute, your brows shouldn’t be one of the things that adds to the pile. An all-in-one eyebrow kit gives you perfect on-the-go brow grooming with a professional touch. Beautiful brows made easy!
HOW TO DO IT
1. Choose one brow shade or blend both for the perfect shade.
2. Work the colour through your brows in short strokes with the black angled brush.
3. Shape and set your brows by applying the wax in short, upwards motions with the white wax brush.
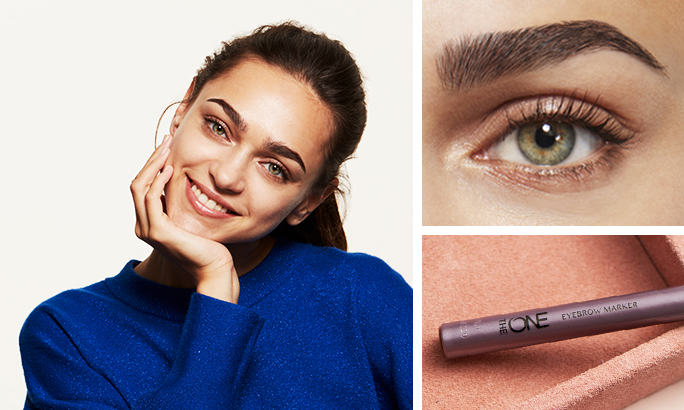
PRECISE AND DEFINED
Just like a sharp cat-eye, a super defined brow requires great technique and an even greater marker. Using a fine tip applicator makes it easy to draw natural looking hairs and create precise lines with a defined brow shape.
HOW TO DO IT
1. Start by applying feathery strokes to the middle of your brow.
2. Build coverage and shape as you move towards the back of your arch. Fill in the arch as much as you want.
3. Lightly fill in the thinner places at the front of your brow with light strokes for a natural finish.


